Creating PDFs or OCRs of Multiple Documents
PDFs
For most native files, you can create a PDF version in the opened document; you can also create PDF versions of documents at the Results page Actions menu.
Select your documents in the Results page using the checkboxes.
Expand the Other Actions list and click Convert.
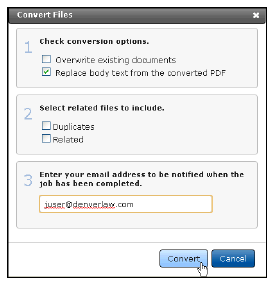
In Step 1, Check conversion options, you can overwrite an existing PDF if one exists for a record. Select the Overwrite existing documents checkbox.
You may also have permission to replace the body text from the converted PDF. This replaces the document’s text (for searching and in the HTML view) with the text taken from the PDF version.
Select the Replace body text from the converted PDF to use text taken from the PDF rather than from the native file.
Selecting the Related or Duplicates checkboxes in Step 2 will also convert those associated records into PDF in addition to the records you selected in the Results page.
Your email address will automatically display in Step 3. You can remove it if you do not wish to be emailed when the conversion is complete, or change the email address if preferable.
Click Convert to execute the conversion process. You can monitor the conversion job at Conversion.
Bulk OCR
If you have appropriate permissions, you will be able to run OCR software on an image record or records directly in the Insight interface; image records typically have extensions such as pdf, png, tif, jpg, bmp, and gif. Once the OCR process is completed, a searchable PDF is appended to the record.
Other file types that require OCR, such as .htm files, have to be converted to PDF before the OCR process is initiated.
If the record were originally uploaded as a PDF or converted to PDF within Insight, then during the bulk OCR process you can select to replace the PDF with your new OCR’d PDF. The text of the new PDF is then used for indexing.
To OCR image records:
Display them in the Results page, select your records using the checkboxes.
Expand the Other Actions list and click Bulk OCR.
In Step 1, Check the OCR job options, use the checkboxes to:
Overwrite existing documents—If a PDF of the record currently exists, you can replace it with this OCR’d version by selecting this checkbox. The text of the new PDF will used for indexing.
Use Color—If the record is color or image intensive, you may want to use this checkbox to render your document in color rather than black and white.
Auto Rotate—Selected by default. Clear this checkbox if you don’t want the OCR process to possibly rotate the document.
Override Check Text—During the OCR process, if a document has a page that has text content, the system, by default, will not OCR it. If you want to force OCR of every page, select this checkbox.
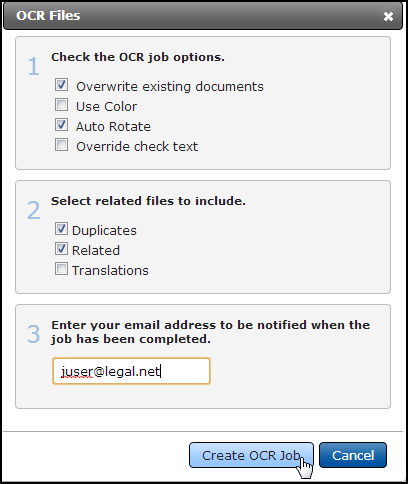
Selecting the Related, Produced or Duplicates checkboxes in Step 2 will also OCR these associated records if any exist.
Your email address should automatically display in Step 3. You can enter a new one if necessary. Click Create OCR Job when you’ve completed your selections and are ready to run the OCR process.
Monitor your OCR job at Jobs.

