Redaction Settings
Viewer Redactions
If your site uses the Viewer and redactions are placed on the Viewer, you are able to create and manage redactions based on reasons.
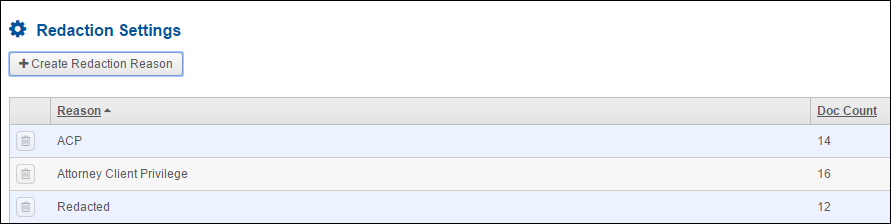
Click Redaction Settings under Review Tools in the Administration menu. You will see a list of current Redaction Reasons,which show up as text on the redaction boxes when placed by users. The list also shows a Doc Count of reasons used.
If a new redaction box is needed, click the Create Redaction Reason button. The Delete (trash can) button is enabled, meaning you can delete a Redaction Reason, when a reason has not yet be used by reviewers.
Redaction Administration for Sites Not Using the Viewer
If your site is not using the Viewer for redactions once you click the Redaction link in the Admin menu, you will see the ability to add, edit and remove:
Redaction Labels: Appear at the top of the screen and represent the redaction buttons available to reviewers. When selected, these buttons allow users to place redaction boxes over text they wish to remove in documents.
Redaction Sets: Appear at the bottom of the screen and are used if reviewers redact the same document different ways for different productions.
To create a new redaction label:
Click the Add New Redaction Label button at the top of the Redaction Settings page and complete the appropriate fields.
In the Add Redaction Label dialog box, enter the name for the button at Label Text.
Create the wording for the redaction box at Redaction Text. This is the information on the redaction box placed by the reviewer and that will be seen when viewing the redacted version of a record.
Expand the Font Name and Font Size menus to select the font and size. Use the color palette to select the font color at Font Color. If you want the text to be bolded, select the Is Bold checkbox.
If you want to include a tooltip that appears when a user points at the button, include the information at Tooltip. You can leave this blank if you don’t need a tooltip.
You can also choose to have the text on the redaction box left aligned, centered or right aligned at Label Text Alignment.
You can select the box color and the border color using the color palettes at Box Color and Box Border Color.
If you would like this redaction box to be the default choice, select the Is Default checkbox.
All users with permissions to redact will be able to adjust the font of the redaction labels so that the redaction text will fit into the box they are drawing. If you would like to allow the users to edit the look of the redaction text (font, bold, size, color, etc.) and the actual text of the redaction box, select the Allow User Edit checkbox. Use this checkbox with care. You typically do not want your redaction team to be able to edit anything but the font size.
Click the Add button. The new redaction button will be available for users in the redaction module, appearing in the Redaction Labels list.
To edit an existing redaction label, click its Edit (pencil) button to open the Edit Redaction Label dialog box.
Click the Delete (trash can) button to remove the redaction label, so that it is no longer available for reviewers to use when redacting.
To create a new redaction set:
Click the Add New Redaction Set button at the top of the Redaction Settings page and complete the appropriate fields.
Enter a name for the set in the Add New Set Name box.
If you would like a tooltip for the set, enter this at Description.
If you want this set to be the default set to which users will store redacted versions, select the Is Default checkbox. This set will be used to store redacted versions until users select a different set.
To edit an existing redaction set, click its Edit (pencil) button to open the Edit Redaction Set dialog box.
Click the Delete (trash can) button to remove the redaction set, so that it is no longer available for reviewers to use when redacting.
To display the redacted versions stored within a redaction set, click the View (magnifying glass) button. The Redacted Documents list is sortable by column headers. For example, if you’d like to see a redacted version created by a particular user, use the Redacted By to sort. To open the redacted version. Click the View (magnifying glass) button in the document row.

